
This article outlines all available settings on the Enterprise plan. You can only select the default account language on the Free, Standard, Pro, and old legacy editions.
Read more about:
Localization in Ziflow (all Ziflow editions)
Summary: Ziflow lets you choose the default language setting for the whole account. It means that Ziflow administrators may select the language into which the Ziflow dashboard, Proof Viewer, and email will be translated.
Additionally, each Ziflow user may select his/her preferred language in the profile settings.
Supported languages:
English
Chinese
German
French
Japanese
Portuguese (Brazil)
Default account language
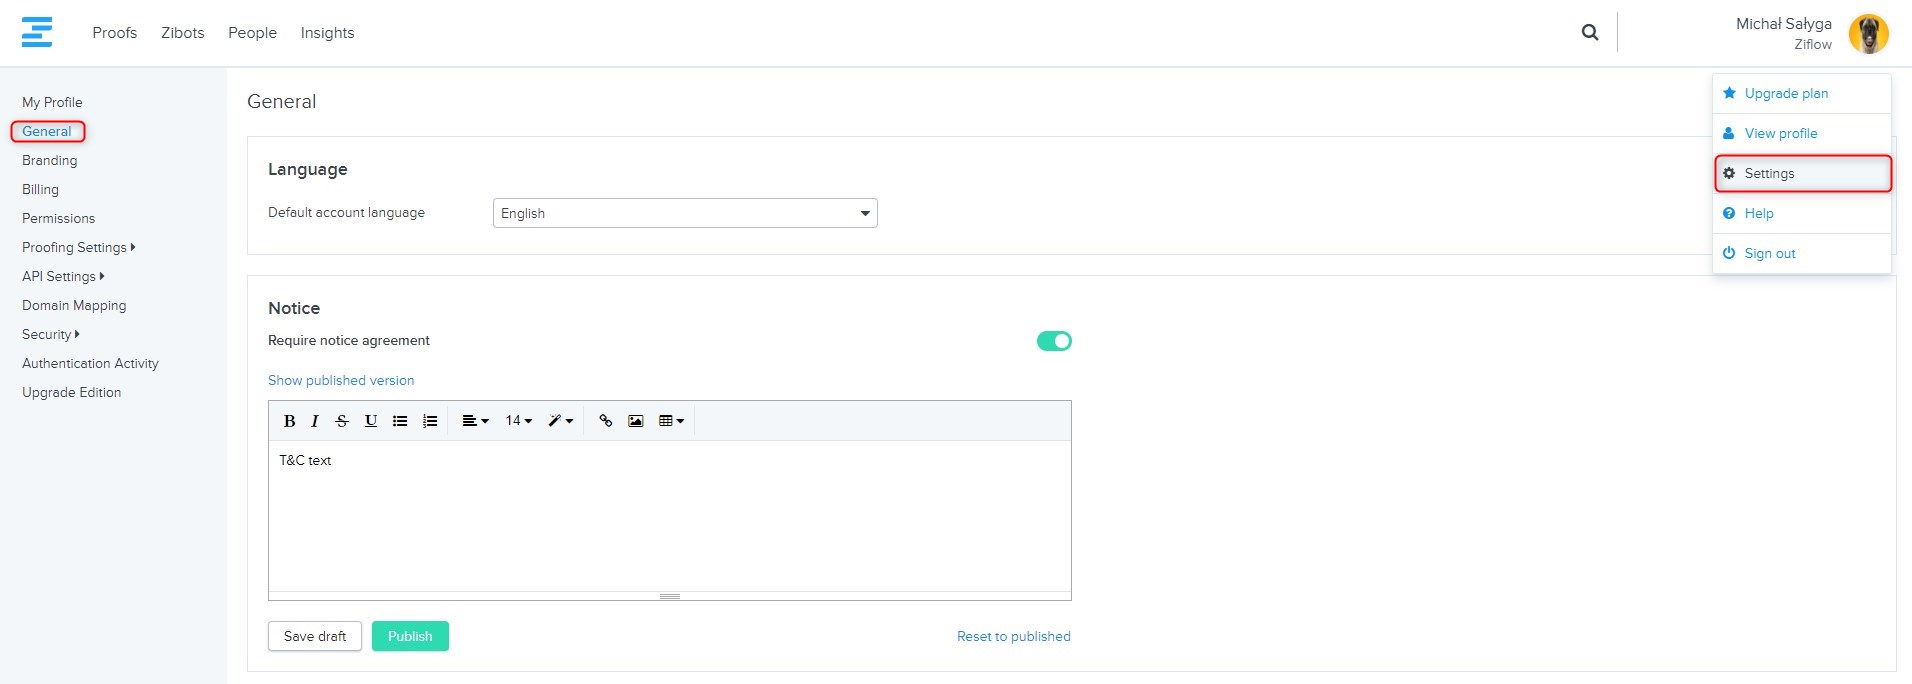
Ziflow administrators can change their default language setting from Settings > General.

Once this option is changed to another language, all below parts of the system will be translated to the chosen language:
Dashboard
Proof Viewer
Export comments to PDF
Emails
Personal profile language setting
Users can also independently decide which language they have Ziflow translated to by amending the language setting directly in their profile.
Click on an avatar icon in the upper right corner of the Ziflow dashboard and choose the View profile option. Once your profile is displayed in a sidebar, you can see that one of the listed options lets you choose a language.
Select your language and save the changes so the setting is applied. After this, you can start using Ziflow in your preferred language.

Terms & Conditions Notice
Summary: Enterprise account administrators can configure a pop-up to include legal information and external links and require reviewers to accept the terms of usage before using Ziflow.
Where is the feature setup?
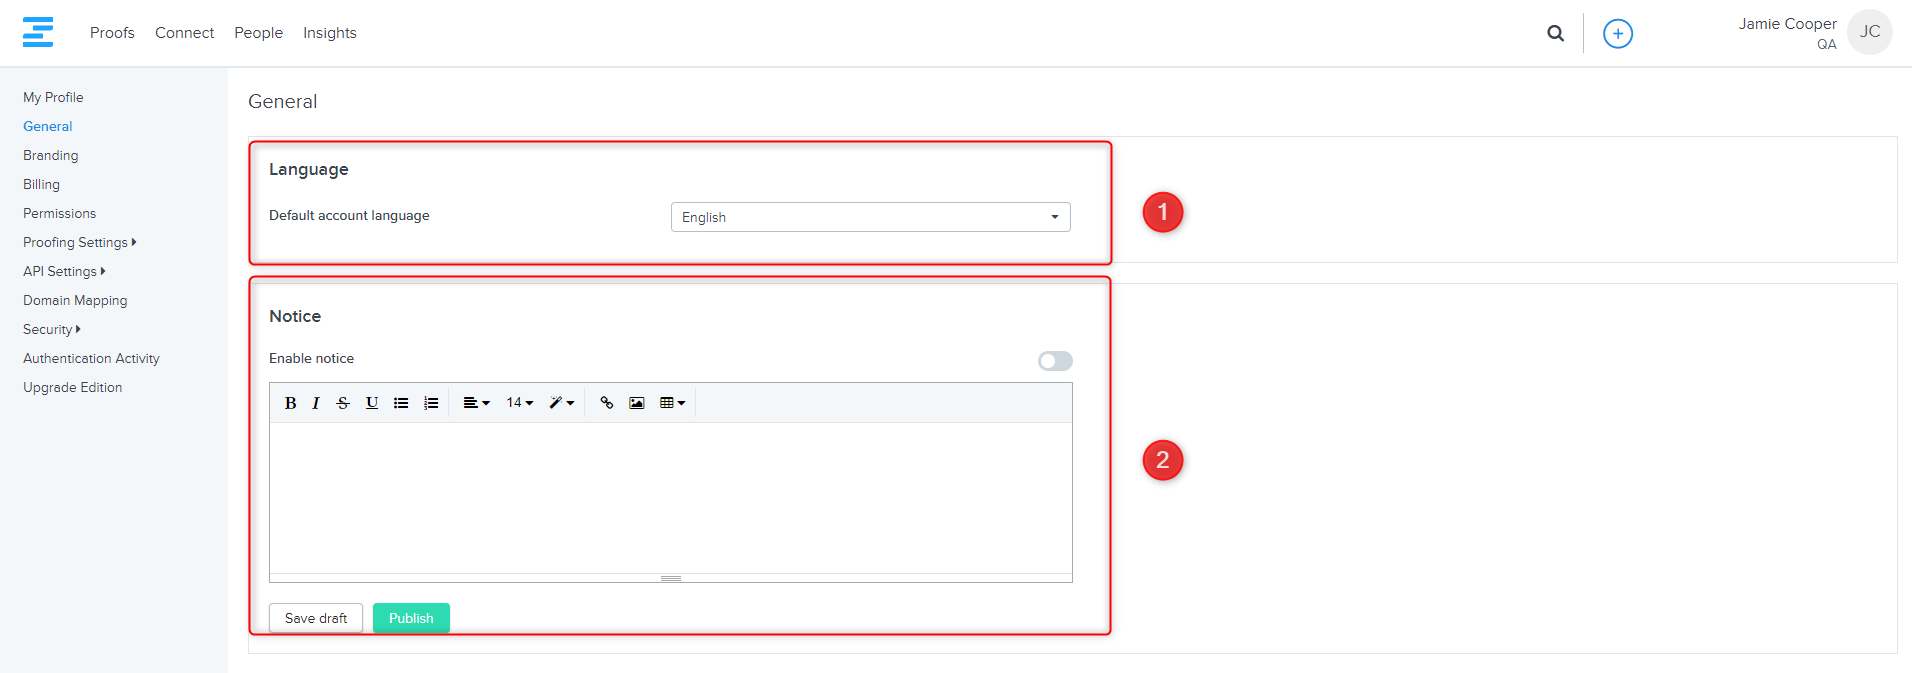
The Notice feature is located under Settings > General.
How does it work?
You will find the Notice agreement once you enter the General settings menu inside your account's main settings. By default, this feature is disabled. To enable it, simply toggle the Enable Notice option.

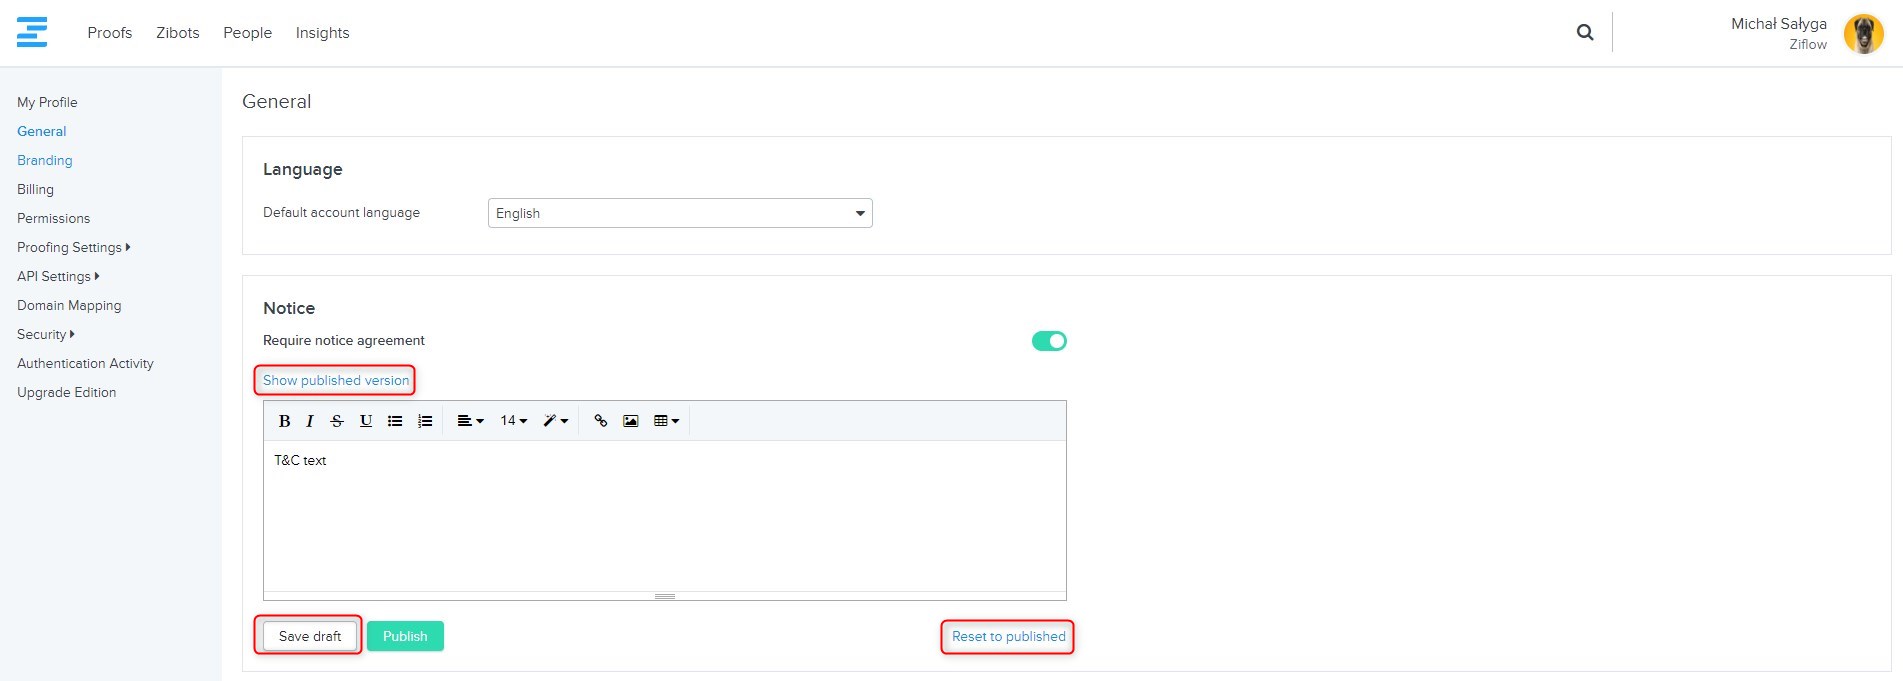
Under the Enable notice toggle, there is a text editor where you can enter the text of your Notice. There are also a couple of options that might be helpful when it comes to changing Notice content (e.g., you can save Notice drafts or display how the saved notice agreement will look like).
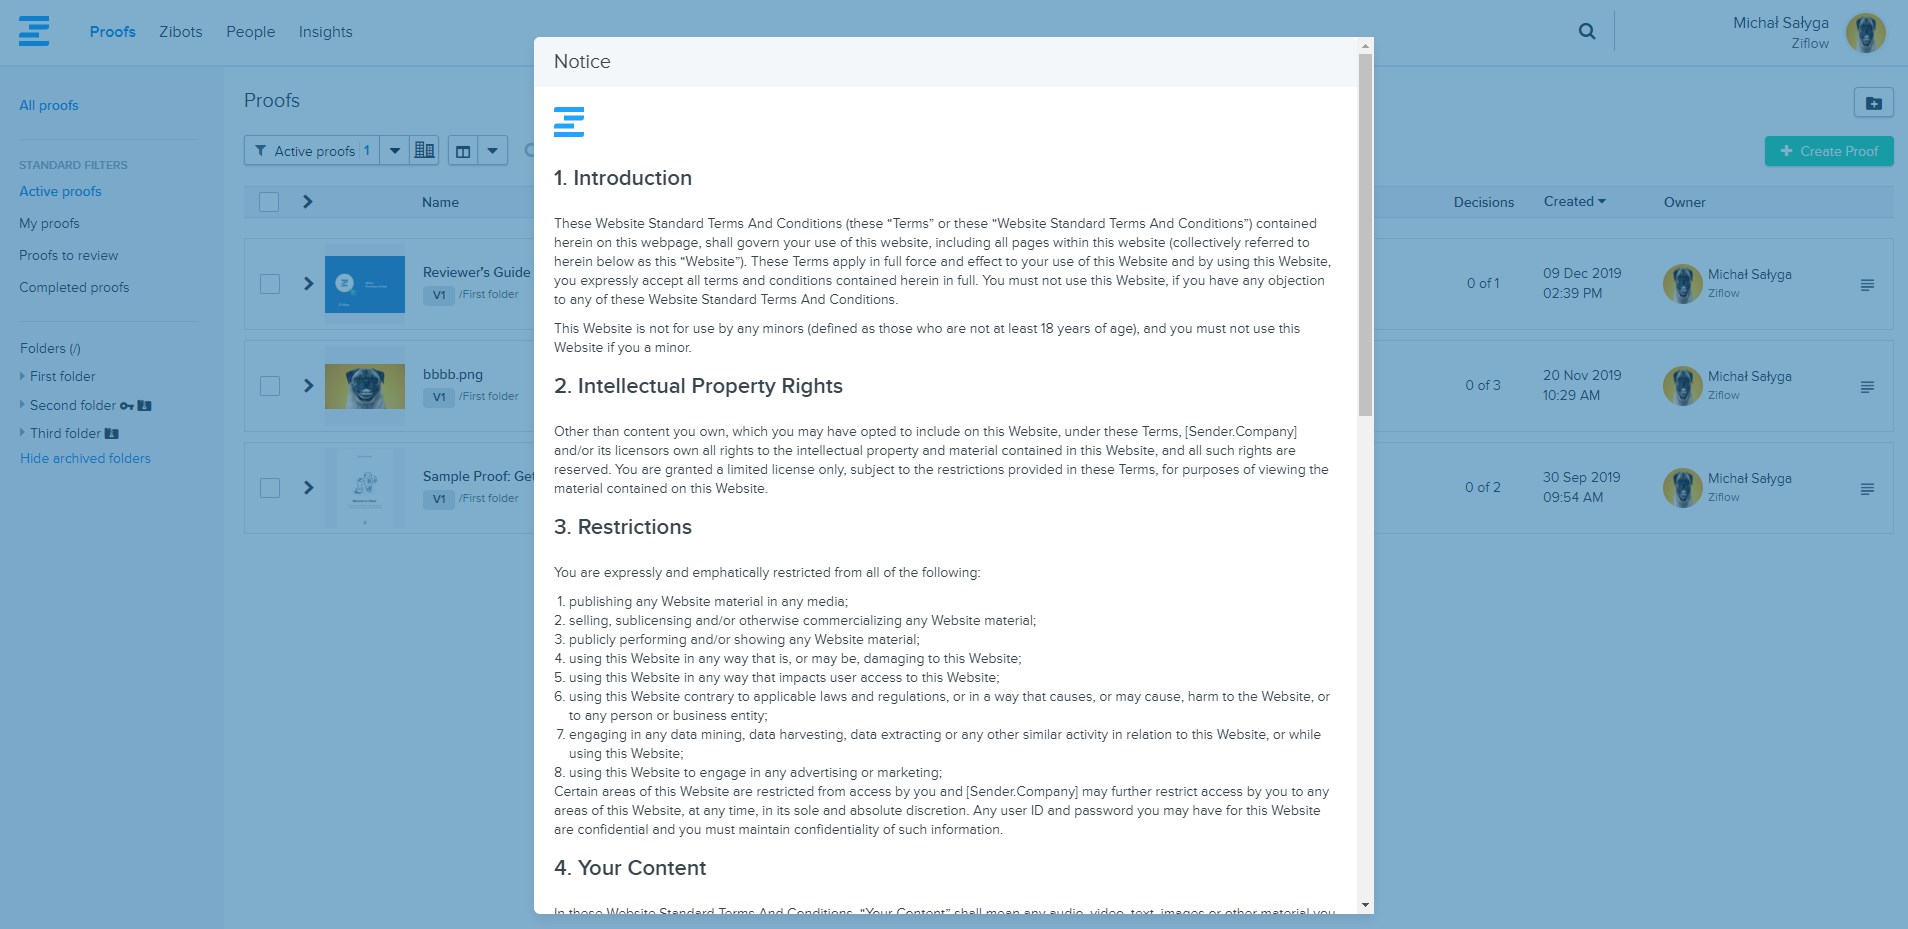
Once your Notice agreement is enabled and published, all users and guests will need to accept it after they open Ziflow.
Additional information:
Each time you change the Notice agreement text, reviewers will be asked again to agree to the notice.
Notice that the T&C message is displayed on the Ziflow dashboard and Ziflow Viewer.