
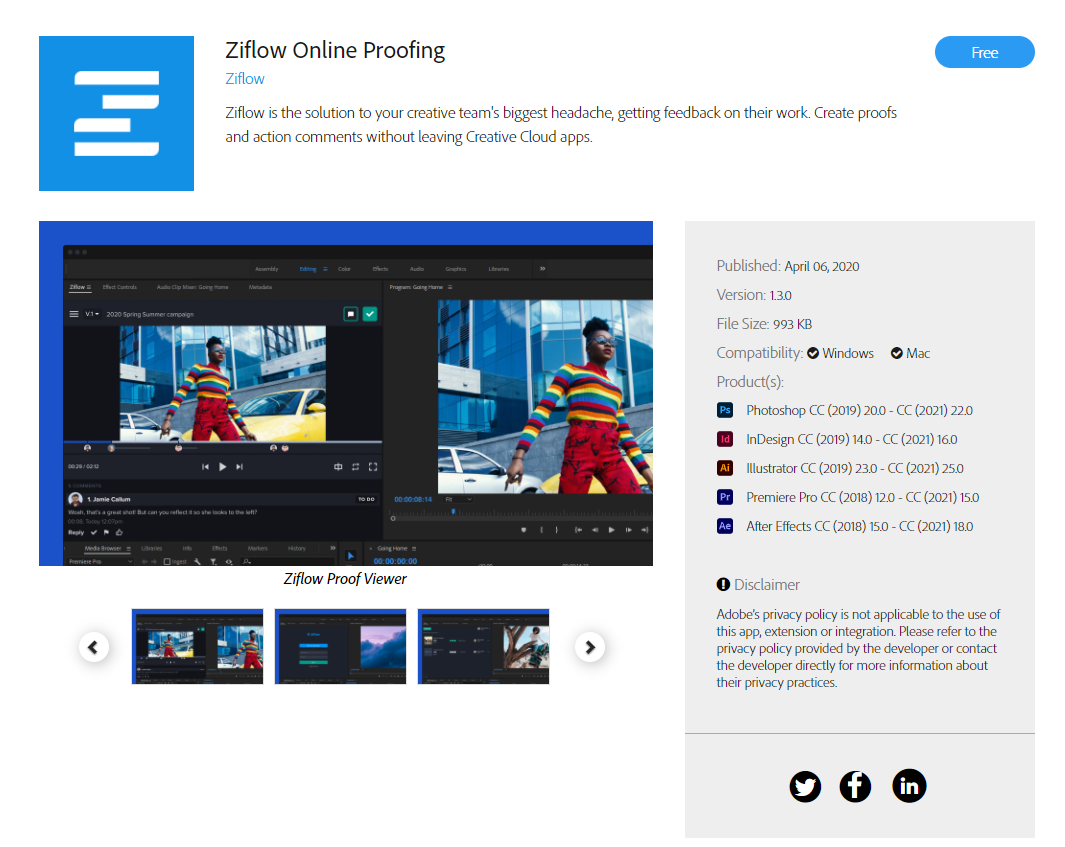
Summary: Our Adobe plugin allows video and art creators to upload a new review or version without logging into Ziflow. Content creators can push assets to Ziflow using the plugin below without opening another tool or browser.
Ziflow plugins let you create new reviews and versions using the following Adobe products:
We have also compiled some helpful information regarding the Adobe plugin.
Available for: every Ziflow user on all editions.
How does it work?
First, download and install the plugin into your Creative Cloud App. Find our plugin (Intel) on the Adobe Exchange website or directly in Creative Cloud.
For those who are using an Apple computer with an M1 or M2 processor, you can now download and install Ziflow’s extension for Adobe Photoshop. Read more about the new plugin for Apple Silicon processors.
Once the plugin has been installed, you may start submitting reviews directly from Adobe apps as outlined below:
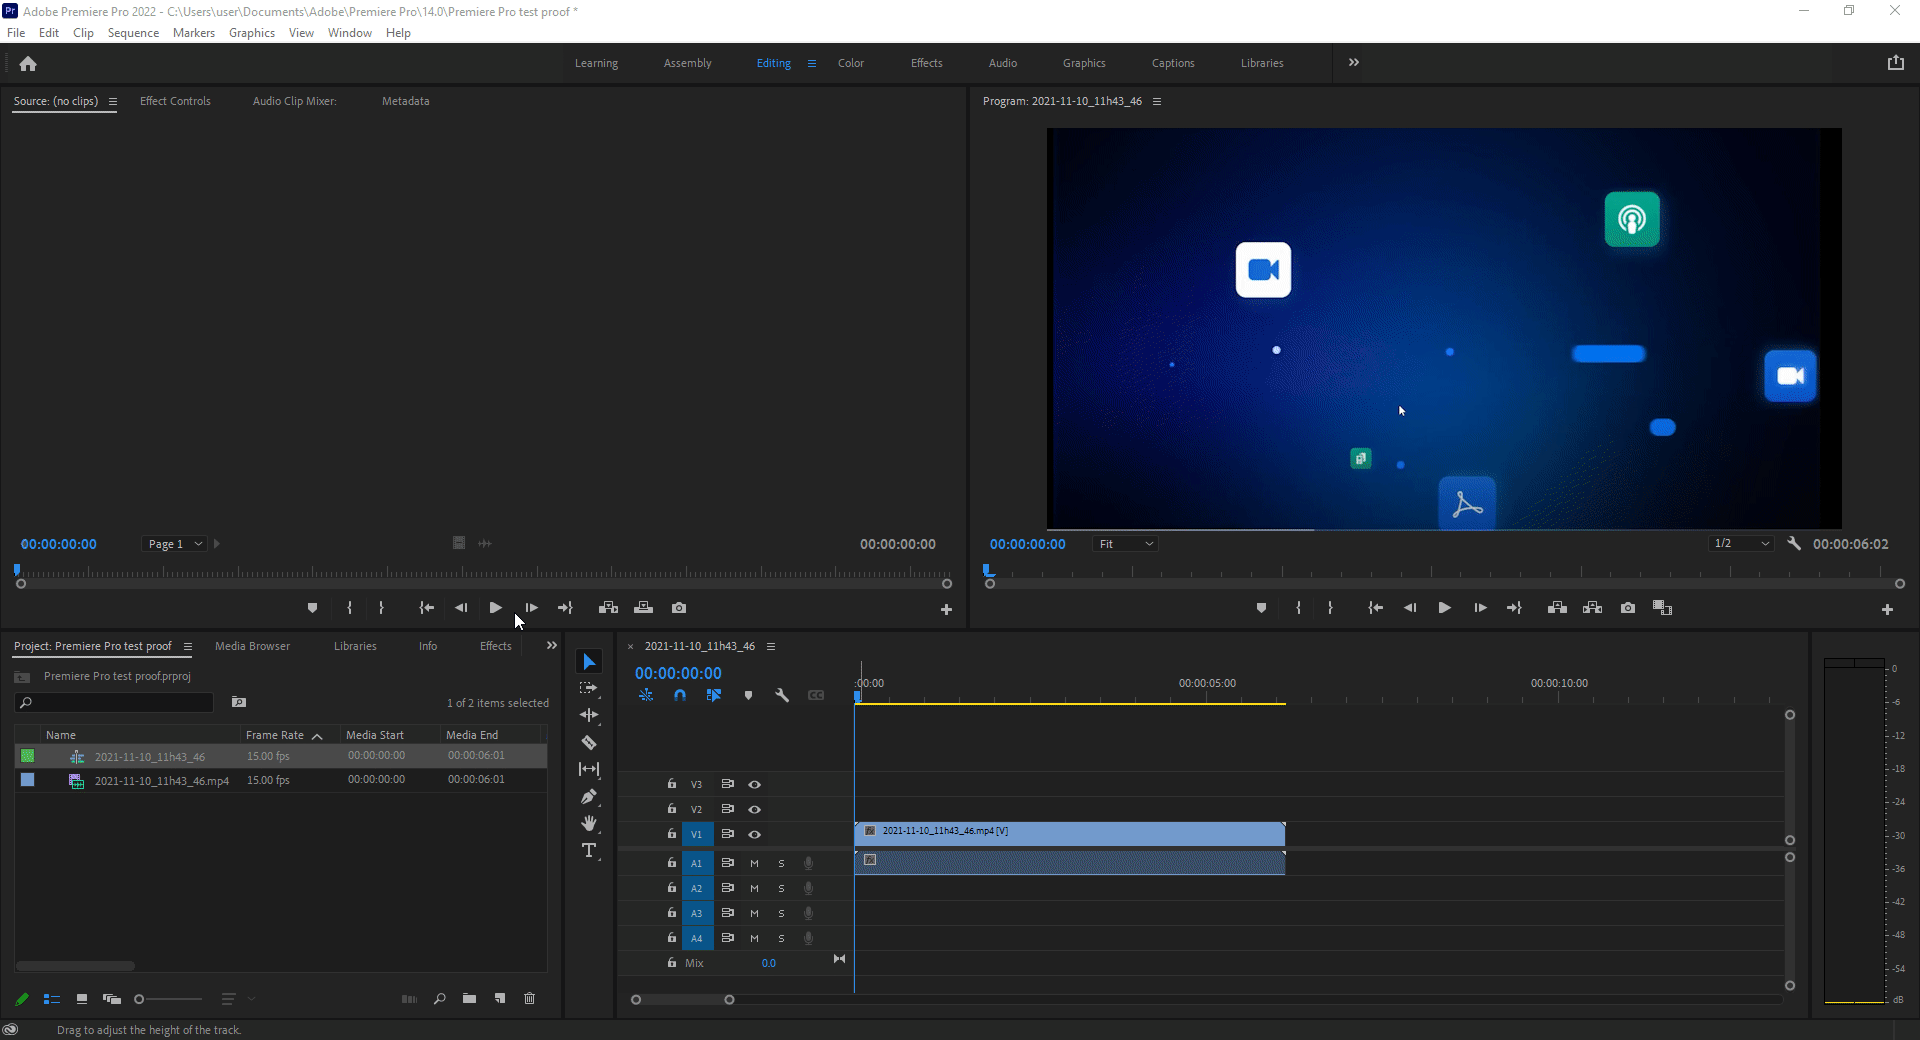
Premiere Pro CC
Once you are finished creating a project in Premiere Pro CC, click on a Window tab, select Extensions, and then choose Ziflow from the list. This will open a window that will redirect you to Ziflow. Please authenticate using your Ziflow credentials within your default browser.
After you've authenticated, click on the Create review button. This will pop up a window where some basic details (review folder location in Ziflow, review name, video quality, and render location ) need to be filled in. Once the video is encoded and rendered the asset will be pushed to Ziflow.
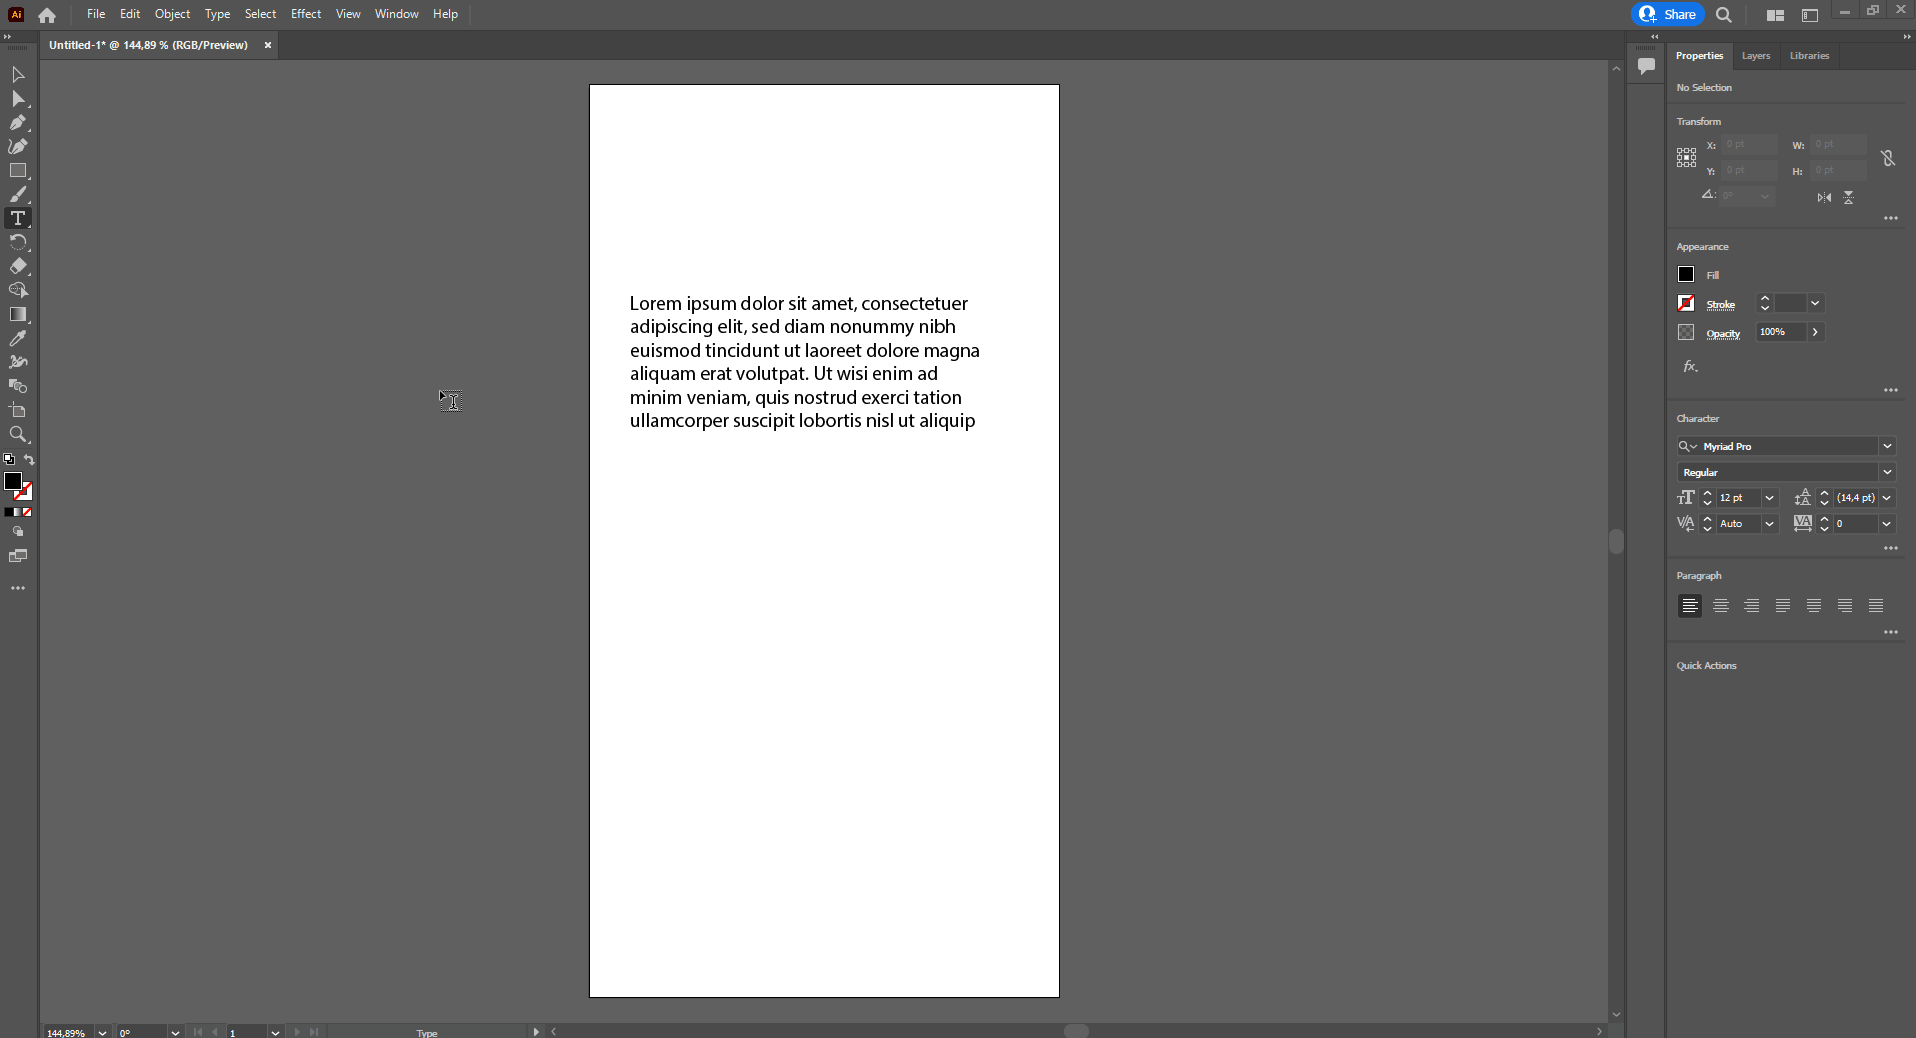
Illustrator CC
Once you've created a project in Illustrator CC, click on a Window tab, select Extensions, and then choose Ziflow from the list. This will open a window that will redirect you to Ziflow. Please authenticate using your Ziflow credentials within your default browser.
After you've authenticated, click on the Create review button. This will pop up a window where some basic details (proof folder location in Ziflow & review name) need to be filled in. Once you click on a Create review button, the asset will be pushed to Ziflow.
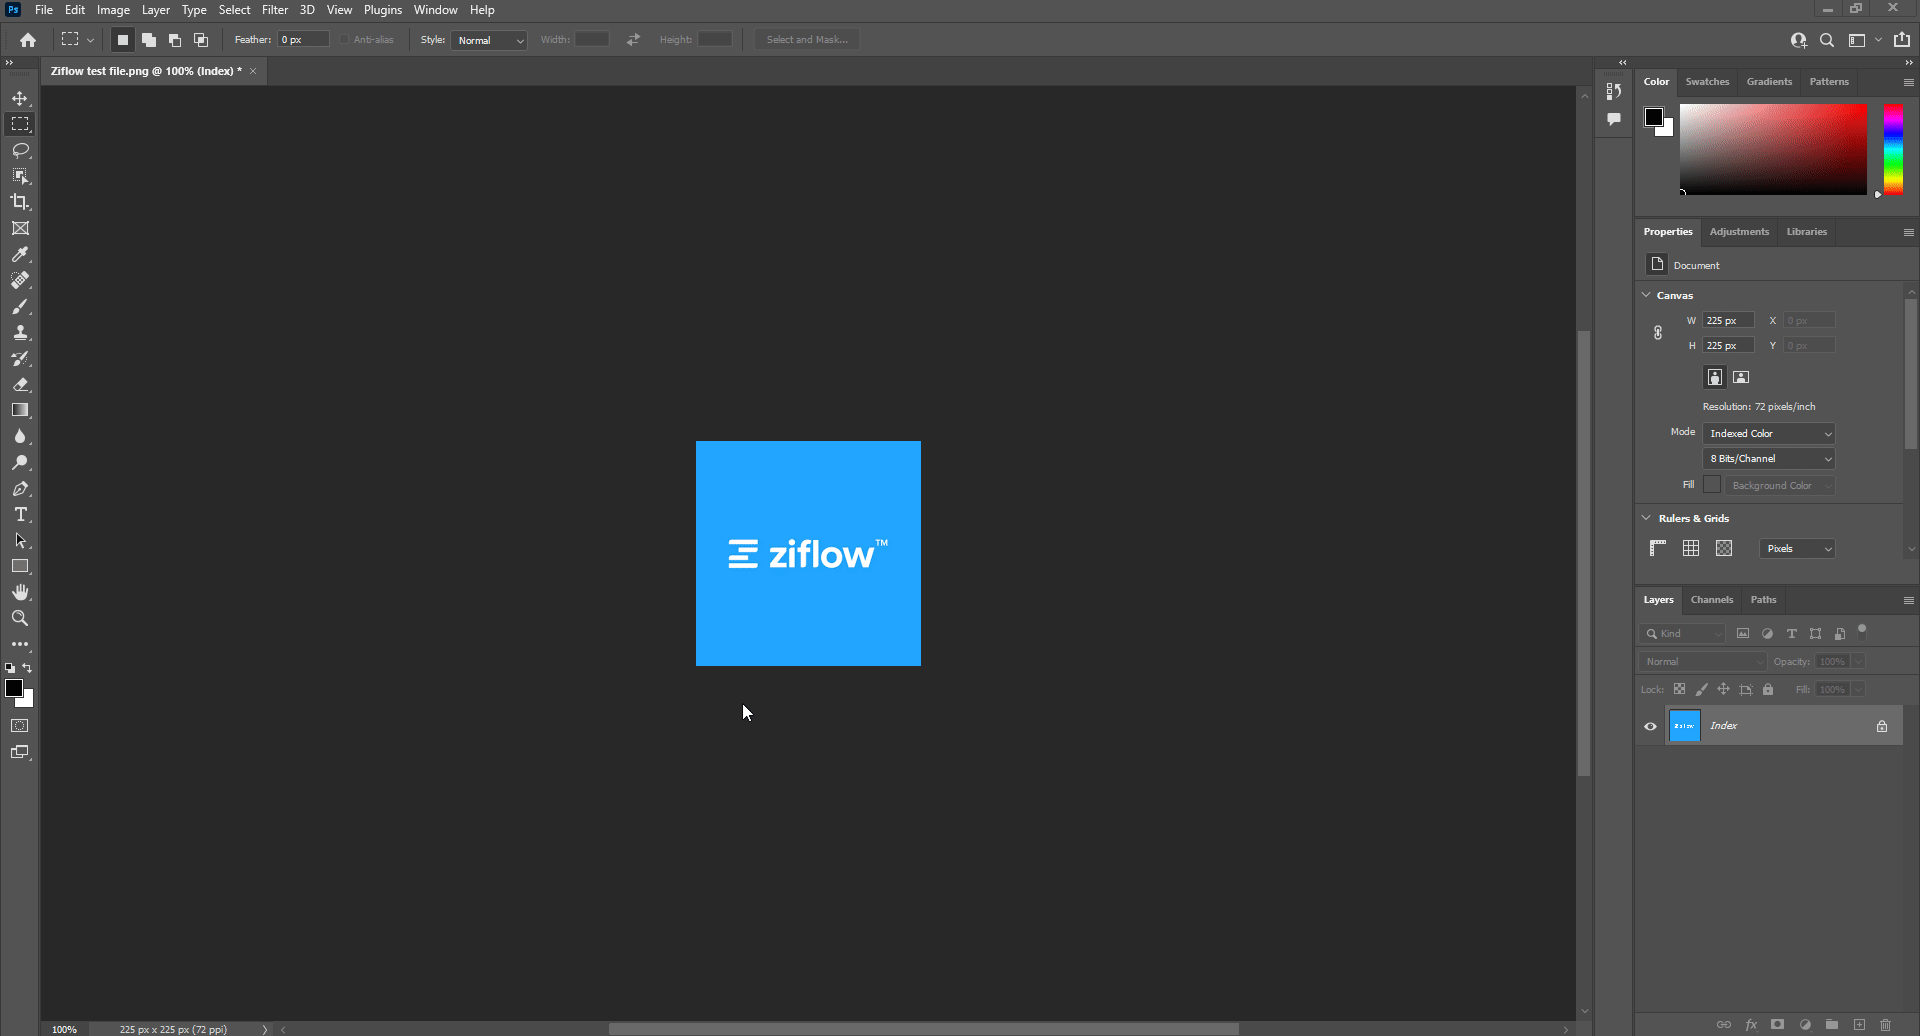
Photoshop CC
Once you've created a project in Photoshop CC, click on a Window tab, select Extensions, and then choose Ziflow from the list. This will open a window that will redirect you to Ziflow. Please authenticate using your Ziflow credentials within your default browser.
After you've authenticated, click on the Create review button. This will pop up a window where some basic details (review folder location in Ziflow & review name) need to be filled in. Once you click on a Create review button, the asset will be pushed to Ziflow.
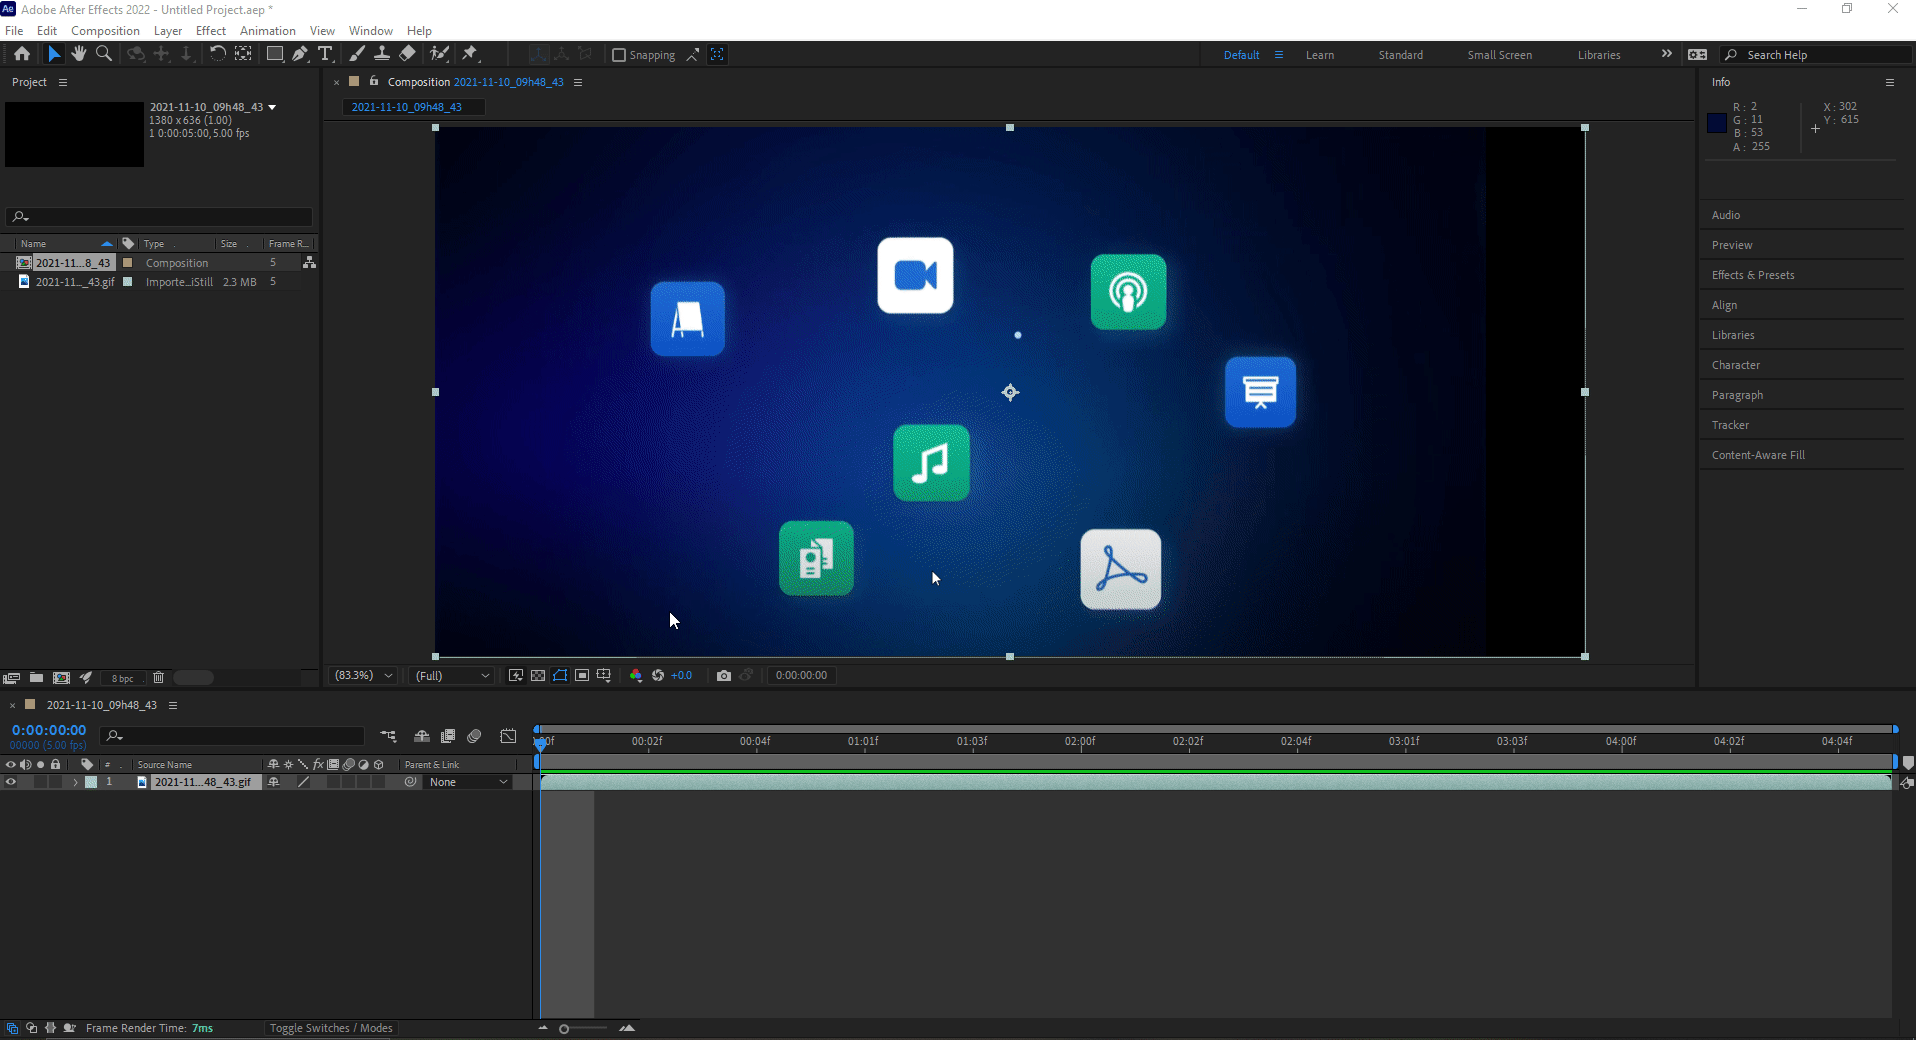
After Effects CC
Once you've created a project in After Effects CC, click on a Window tab, select Extensions, and then choose Ziflow from the list. This will open a window that will redirect you to Ziflow. Please authenticate using your Ziflow credentials within your default browser.
After you've authenticated, click the Create Review button. This will pop up a window where some basic details (proof folder location in Ziflow, review name, video quality, and render location ) need to be filled in. Once the video is encoded and rendered, the asset will be pushed to Ziflow.
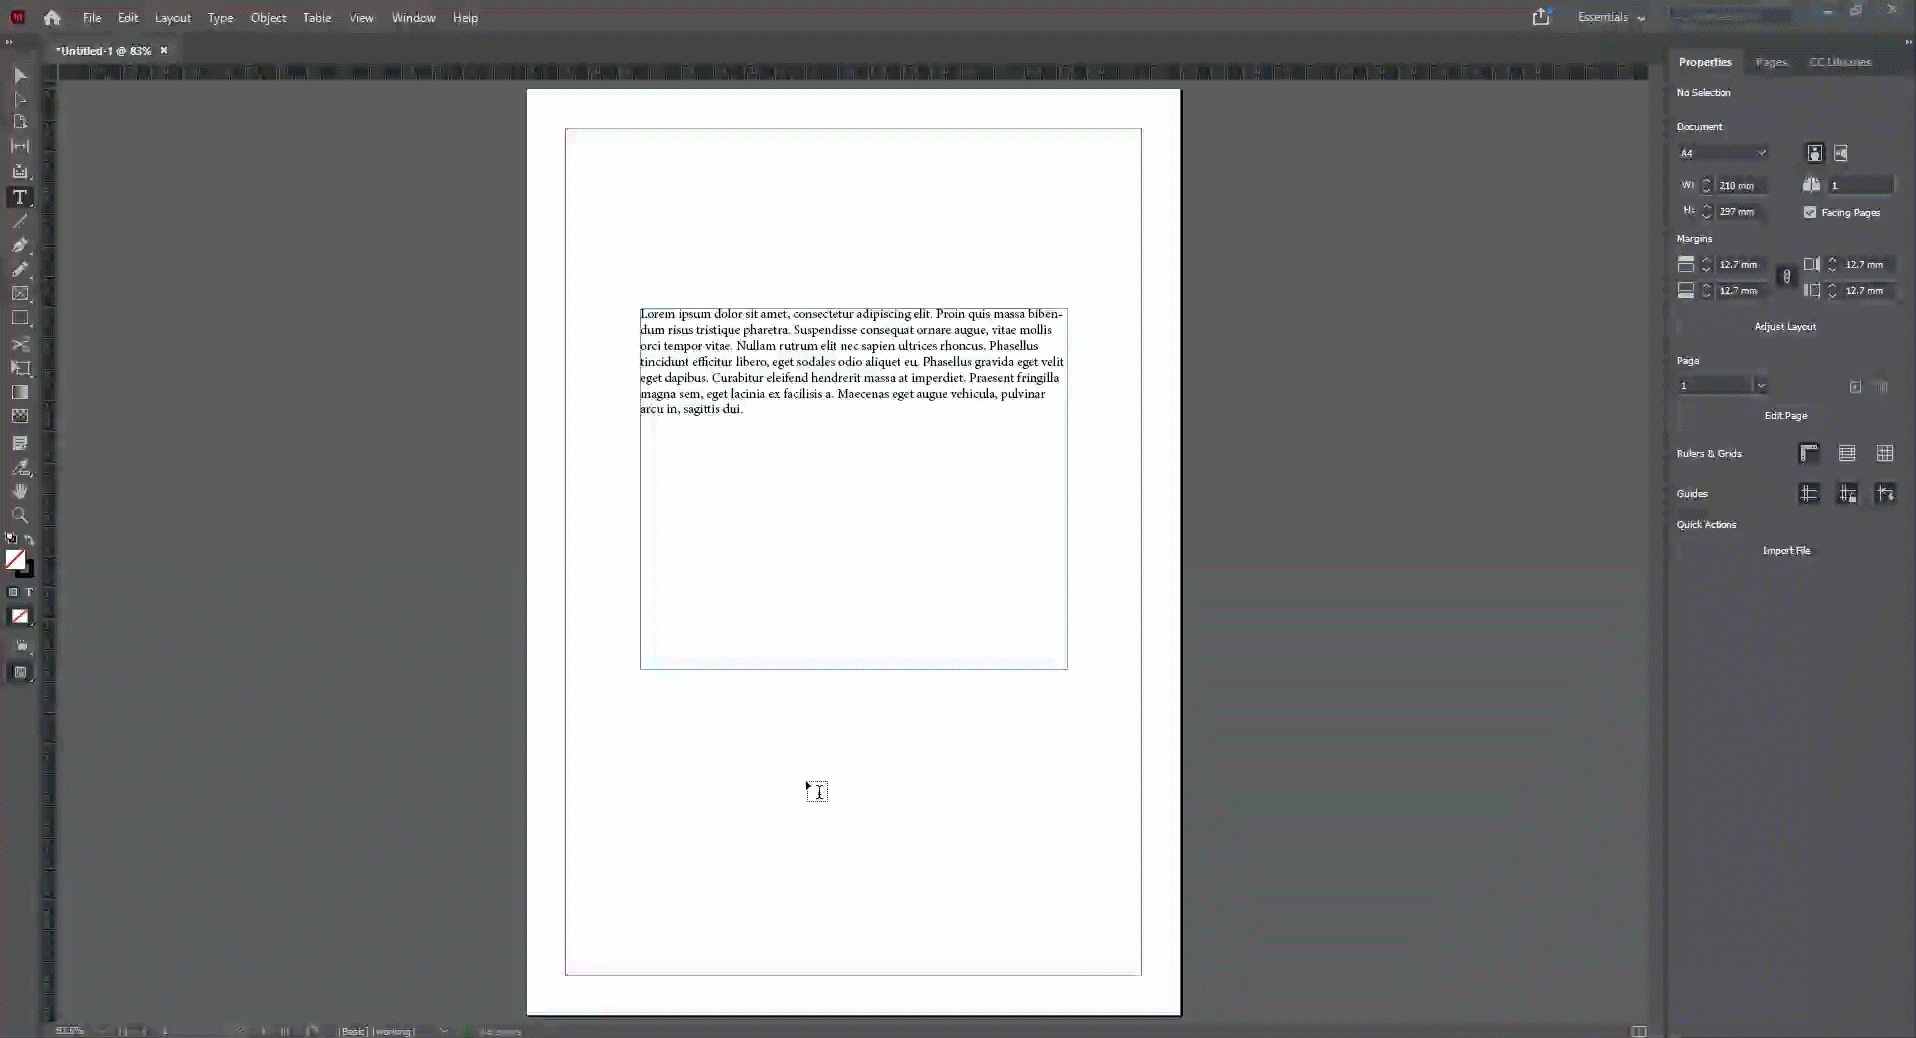
InDesign CC
Once you've created a project in InDesign CC, click on a Window tab, select Extensions, and then choose Ziflow from the list. This will open a window that will redirect you to Ziflow. Please authenticate using your Ziflow credentials within your default browser.
After you've authenticated, click the Create Review button. This will pop up a window where some basic details (review folder location in Ziflow, review name, and render location ) need to be filled in. Once the asset is rendered, it will be pushed to Ziflow.
Please note that all elements within your project must be embedded within the file so Ziflow can process it successfully.
New version upload from Adobe plugin
If you want to submit a new review version, search for a review that requires the revised asset inside the Ziflow Adobe plugin. Then you can upload a new version either by choosing the Create new version button under the three-dot menu.

or by selecting the same button (New version) inside the Ziflow Viewer when you open the review:
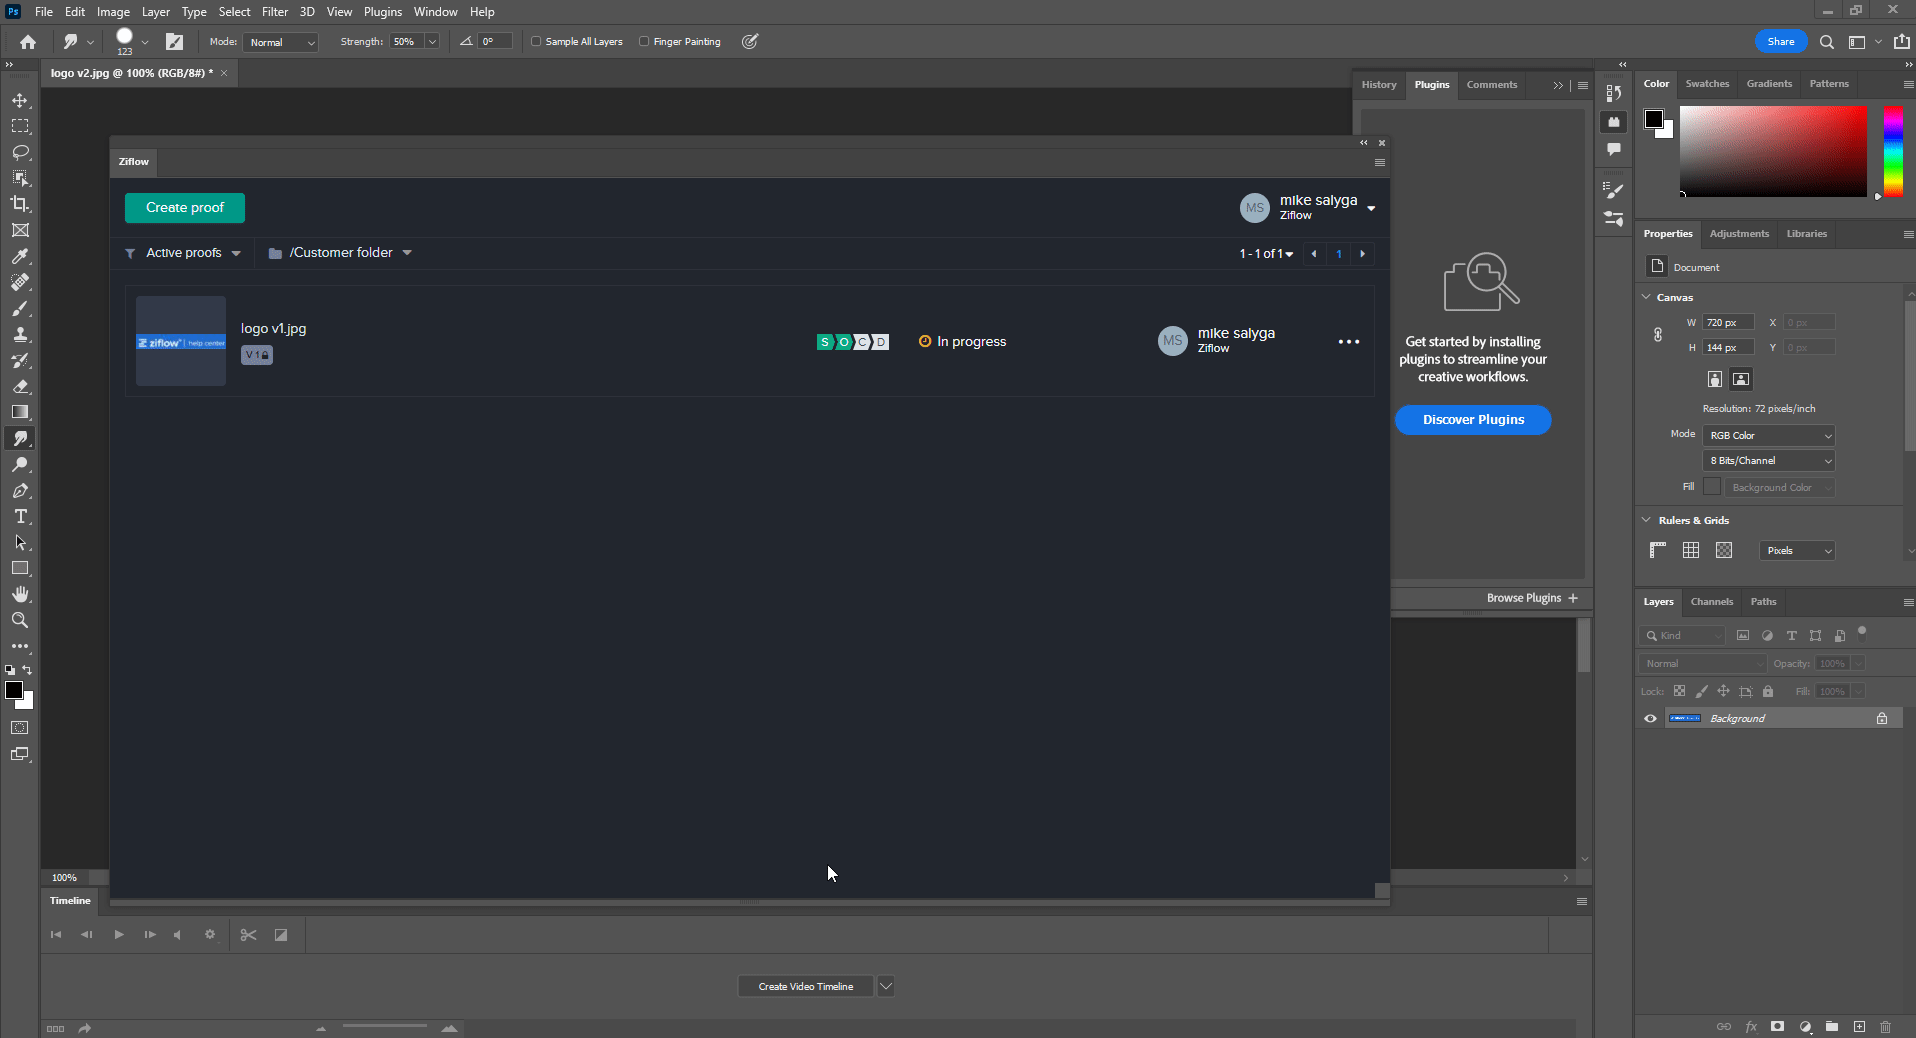
Reviewing from within the Adobe plugin
Opening reviews in the Ziflow Adobe plugin is effortless. Use filters and folders to find a review and left-click on the thumbnail to open it in the Ziflow Viewer.

Using various tools in the Ziflow Viewer will allow you to display reviews according to your needs.

Markups and decision submissions can be completed the same way as in Ziflow Viewer in a regular browser.

The Ziflow Viewer plugin can be used for various actions, such as sharing reviews and comparing versions. Learn more about how to utilize this tool efficiently.
Adobe plugin troubleshooting steps:
If you experience any issues, we recommend deleting the plugin cache as your first step in troubleshooting:
Deleting cache
Mac
Select the Finder menu > Go > Go To Folder...
Paste:
~/Library/Caches/CSXS/cep_cache/Delete all folders that contain
io.ziflow.adobeplugin. Examples:
- AEFT_18.4_io.ziflow.adobeplugin
- IDSN_16.3_io.ziflow.adobeplugin
- ILST_25.4.1_io.ziflow.adobeplugin
- PHXS_22.4.3_io.ziflow.adobeplugin
- PPRO_15.4.0_io.ziflow.adobepluginPlease restart your computer to complete the process.
PC
Navigate to
C:/Users/<USERNAME>/AppData/Local/Temp/cep_cache/Delete all folders that contain
io.ziflow.adobeplugin. Examples:
- AEFT_18.4_io.ziflow.adobeplugin
- IDSN_16.3_io.ziflow.adobeplugin
- ILST_25.4.1_io.ziflow.adobeplugin
- PHXS_22.4.3_io.ziflow.adobeplugin
- PPRO_15.4.0_io.ziflow.adobeplugin
Please restart your computer to complete the process
Additional information:
Ziflow Adobe plugin interface reflects language settings applied inside the user profile
Ziflow Plugin for Photoshop on Apple Silicon processors
We're pleased to announce that we've developed a new version of the Ziflow plugin specifically designed to seamlessly integrate with Adobe Exchange on Apple Silicon devices. This update ensures that our service runs smoothly on the latest Mac hardware (M1 or M2 processor), providing an optimal experience for our users. To get started, follow these simple steps:
Download and Install the new plugin.
You can download the installation file by clicking on the button below:
If the plugin has been installed correctly, you can start using the plugin. Please refer to the specific information on how to use the plugin with Photoshop.