
Summary: With automations below, you can start sending proofs to Ziflow based on Google Drive & Dropbox uploads or by submitting custom branded intake forms you can share with team members or clients.
Where is the feature setup? The Proof Zibot can be applied inside the Zibot step when creating or amending a Flow. Ziflow is able to automatically create proofs based on two different types of events.
Cloud storage flows (Google Drive or Dropbox) can kick off new projects upon a new file upload.

Intake forms can be shared with your users or external clients and be used as a trigger to start a new proof on the Ziflow side.


Flows based on Google Drive & Dropbox
*NOTE - you must first connect your cloud storage (Dropbox or Google Drive) before creating a flow. You can do this under the Connect tab -> Cloud Storage. If you need a detailed guide on how to connect with your cloud storage, please visit this collection.
Available: on Business and Enterprise editions.
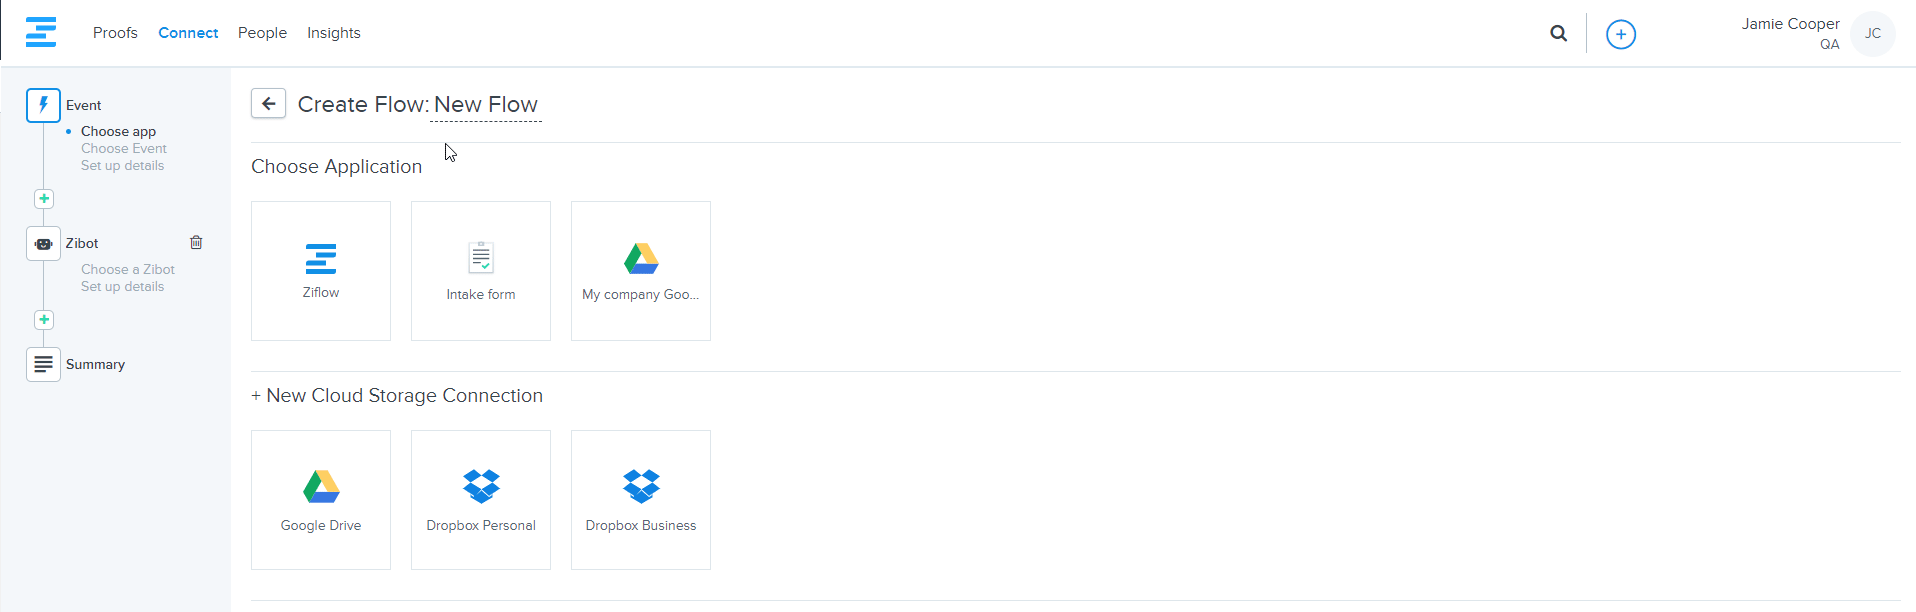
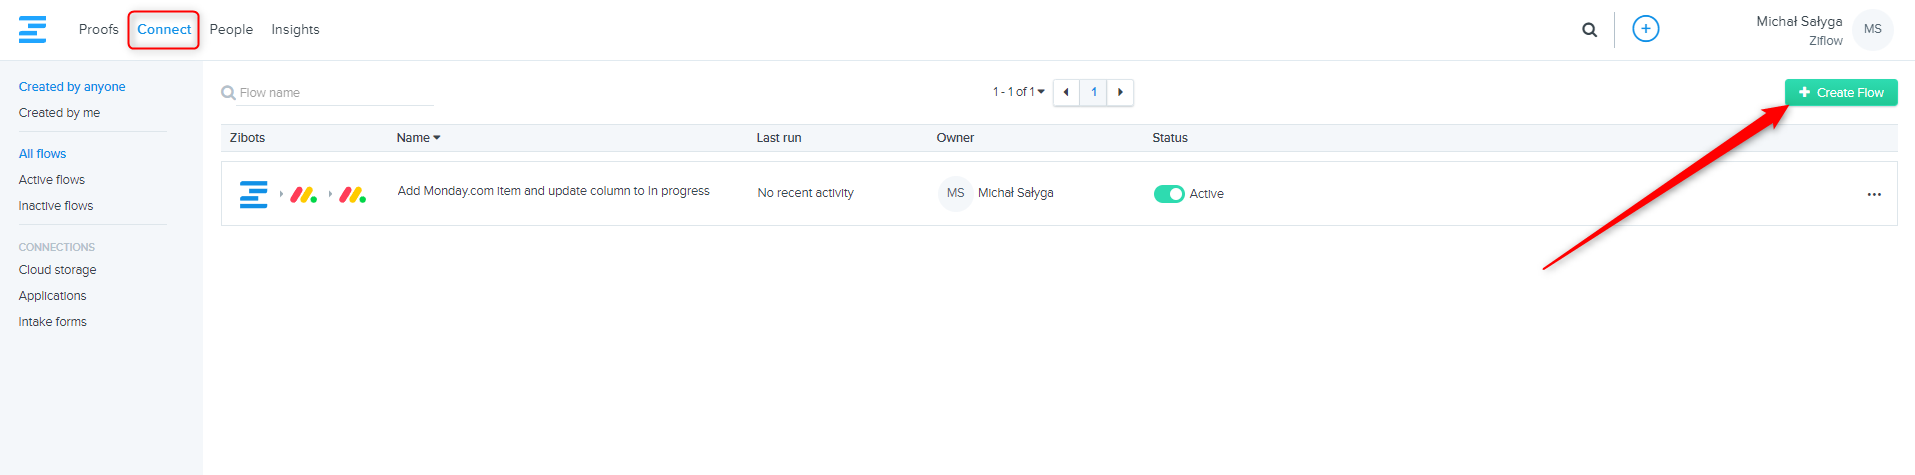
Start by entering the "Connect" tab and pressing the "Create flow" button located in the upper right corner of a dashboard.

Name your flow and select previously added cloud storage connection**. Alternatively, you can add a new cloud connection from this page as well.
Next, choose the event that will trigger your Zibot. In this, I’m choosing “a file is added to a folder”.
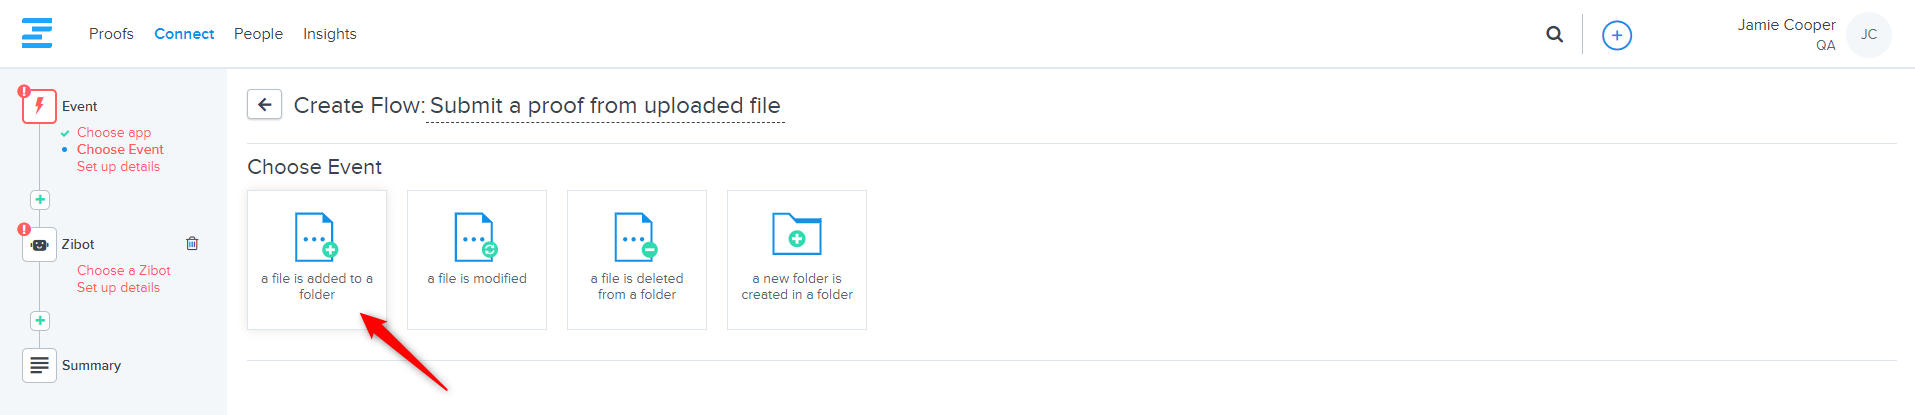
Then we are going to Set up details for your event. Please see Understanding event settings for more information.

The settings above let you narrow down files that will trigger the automation later on. You can decide which files, uploaded where and by whom will trigger later actions.
Once you're done with adjusting the trigger settings, click the Next button and proceed with the Zibot configuration. You'll be presented with a list of available Zibots, select Create a proof Zibot.

The next step will be a proof configuration: assembling a workflow, adding reviewers, adjusting proof settings, etc. If you require additional information about configuration settings etc., please visit the detailed guide on how to create new proofs.

If you require more details on how to configure these settings, please refer to Create a new proof article.
Click Next and Save the flow. At this moment the flow is ready for use.

You can drop a file in your cloud drive and see how flow picks it up and submits a new proof.

Flows based on Intake Forms
*NOTE - firstly you need to create an intake form that can be later used in the flow. You can do this under the "Connect" tab -> Intake forms. If you need a detailed guide on how to create an intake form please visit this website.
Summary: The Intake Forms feature, unique to Ziflow, allows your designers, customers, and stakeholders to submit proofs directly into your account using a simple link and have a workflow automatically assigned to that proof.
You can create as many intake forms as you need in just a matter of minutes, each with its own customized branding, title, description, as well as upload options, and custom properties.
Our intake forms handle not only file submissions but also text which we’ll automatically convert to a PDF for review.
Available: on Business and Enterprise editions.
The Intake Form Zibot creation process looks exactly the same way as any other Ziflow Zibot. Here’s an article showing how to set up a new flow, but we are also going to show how this looks step by step.
What is worth noting is that only users with Admin rights can set up Intake Form Zibots.
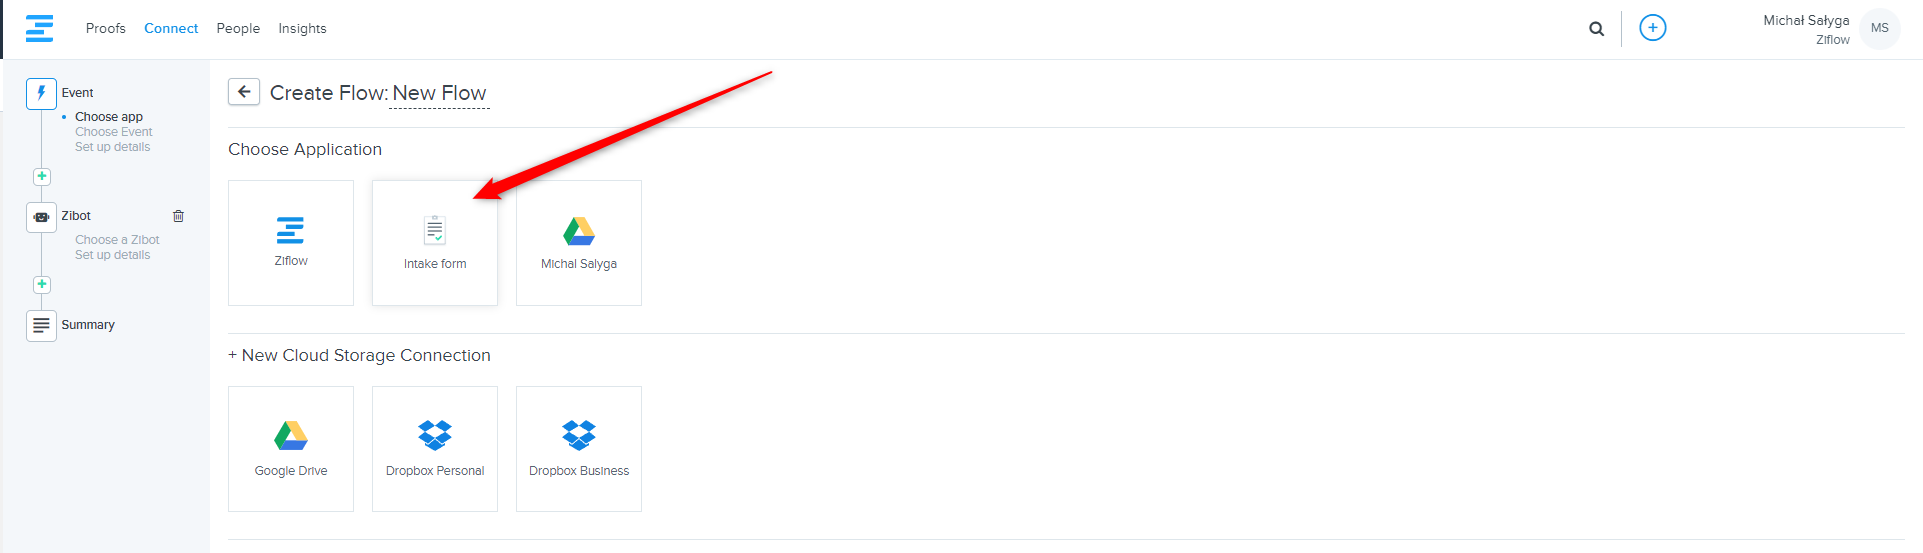
You start by clicking on the Create flow button inside the Connect tab:
Then an “Intake form” must be selected as the application:
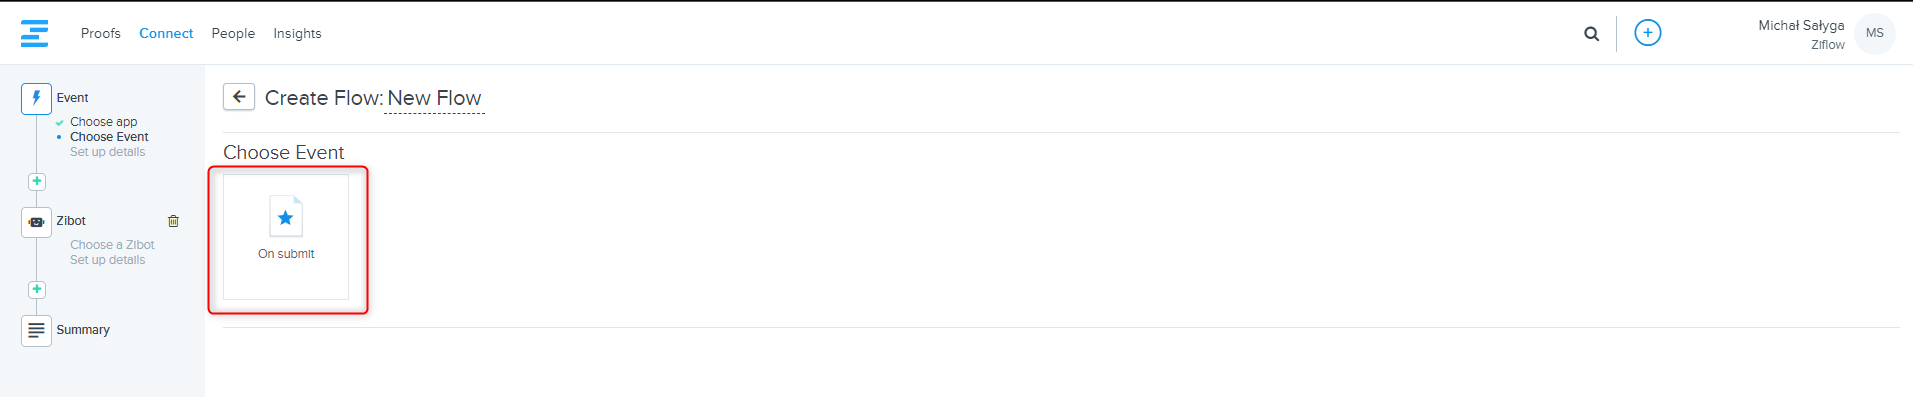
Select the “On submit” option as the event.
At this point, you need to choose which intake form should be connected to the Zibot (alternatively you can also create an intake form from this level):

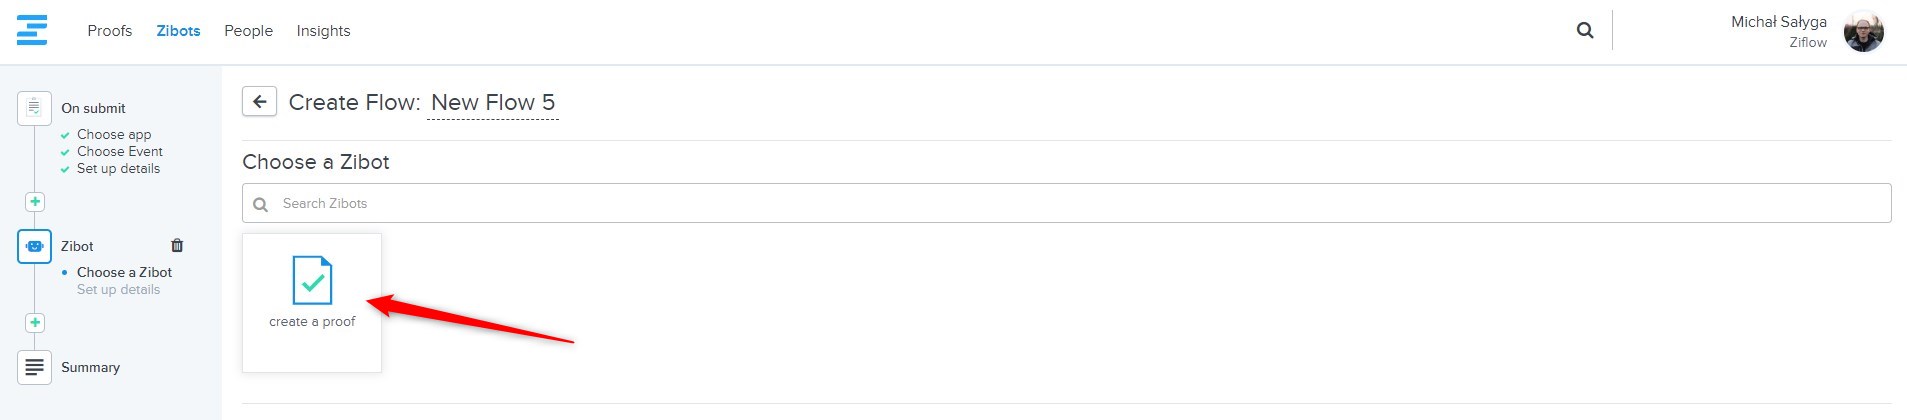
Once you’re done with the event configuration, you can proceed to set up an actual Zibot that is going to create proofs:
The next step will be a proof configuration: assembling a workflow, adding reviewers, adjusting proof settings etc. If you require additional information about configuration settings etc. please visit the detailed guide on how to create new proofs.
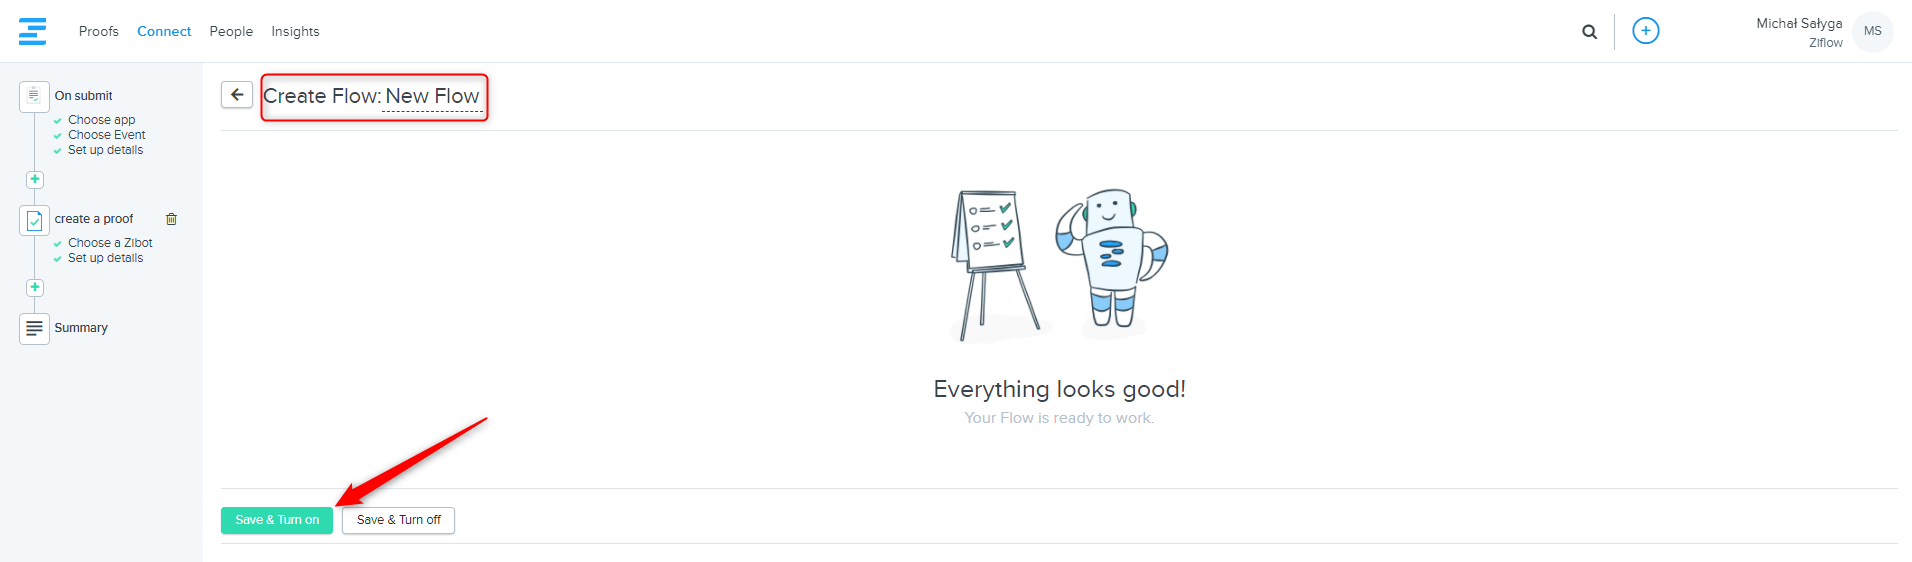
When you’re done, click the Next button, and you will be asked to confirm if the flow should be saved and activated. You can also name the flow, so it is easier to differentiate it from other automations.
After saving a flow, the process is finished. Users can start submitting files through the intake form. Whenever someone uploads a file through the form, a proof will automatically be created.
